




Hollow Block Making Machine: Fixing Cracks During Demolding
Cracks that appear as blocks leave a hollow block making machine usually mean the fresh concrete cannot withstand the forces acting on it during release. The cause may be inconsistent moisture, uneven filling, poor compaction, mold friction, or a sudden movement in the demolding sequence. Adding cement before checking these conditions can increase cost while leaving the fault unresolved.
The fastest route to a useful diagnosis is to identify exactly when the crack opens and whether it repeats in the same mold cavity. A crack that forms during stripping points toward different causes from one that appears when the pallet moves away. Establish that distinction before changing the mix or machine settings.
Find the moment the block starts to fail
Observe the cycle from outside the guarded area, using an approved viewing position or camera where necessary. Watch the block as the mold releases, then watch the pallet transfer. Do not reach into the machine, bypass an interlock, or enter the operating area to inspect a fresh block.
If a wall splits while sliding past a mold surface, investigate sticking, drag, alignment, and insufficient green strength. Green strength is the block’s ability to hold its shape before the cement has hardened. If the block clears the mold intact but cracks at the conveyor transition, pallet support and transfer shock become stronger suspects.
Before cleaning, measuring, or adjusting internal parts, isolate the machine, release stored energy, and secure raised components according to its maintenance procedure. Hydraulic pressure loss alone does not make a raised assembly safe to work beneath.
These patterns help prioritize checks; they do not prove a cause by themselves. A thin wall can split because the mix is weak, because the mold drags against it, or because both conditions occur together.
Check mix consistency before changing the recipe
Dry-cast concrete needs enough moisture to compact and develop cohesion while remaining stiff enough to retain its shape immediately after demolding. A mix that is too dry may look acceptable inside the mold but break along thin webs or corners during release. A mix that is too wet may stick, smear, deform, or tear as the tooling separates.
Look for changes in aggregate moisture, especially after rain, a new stockpile delivery, or a shift from surface material to material deeper in the pile. The water added at the mixer is only part of the total water entering the batch. Wet sand can change the effective moisture even when the water setting remains unchanged.
A hand squeeze can provide a quick comparison with a familiar, successful mix, but it cannot establish a universal moisture target. Aggregate grading, fines, absorption, and binder content all affect how the material feels. Use the plant’s established moisture measurement method and compare results with production records.
When moisture appears responsible, make a controlled adjustment within the approved recipe limits. Allow the changed material to reach the machine before judging the result. Otherwise, material remaining in the mixer, hopper, or feed system can make several adjustments overlap.
Check whether the mixer delivers the same material throughout the batch
Dry pockets, cement-rich lumps, and uneven moisture distribution can produce alternating strong and weak blocks without any change in machine settings. Inspect mixer cleanliness, mixing sequence, mixing time, and the condition of wear parts. Also check whether material separates during discharge or accumulates in the feed hopper.
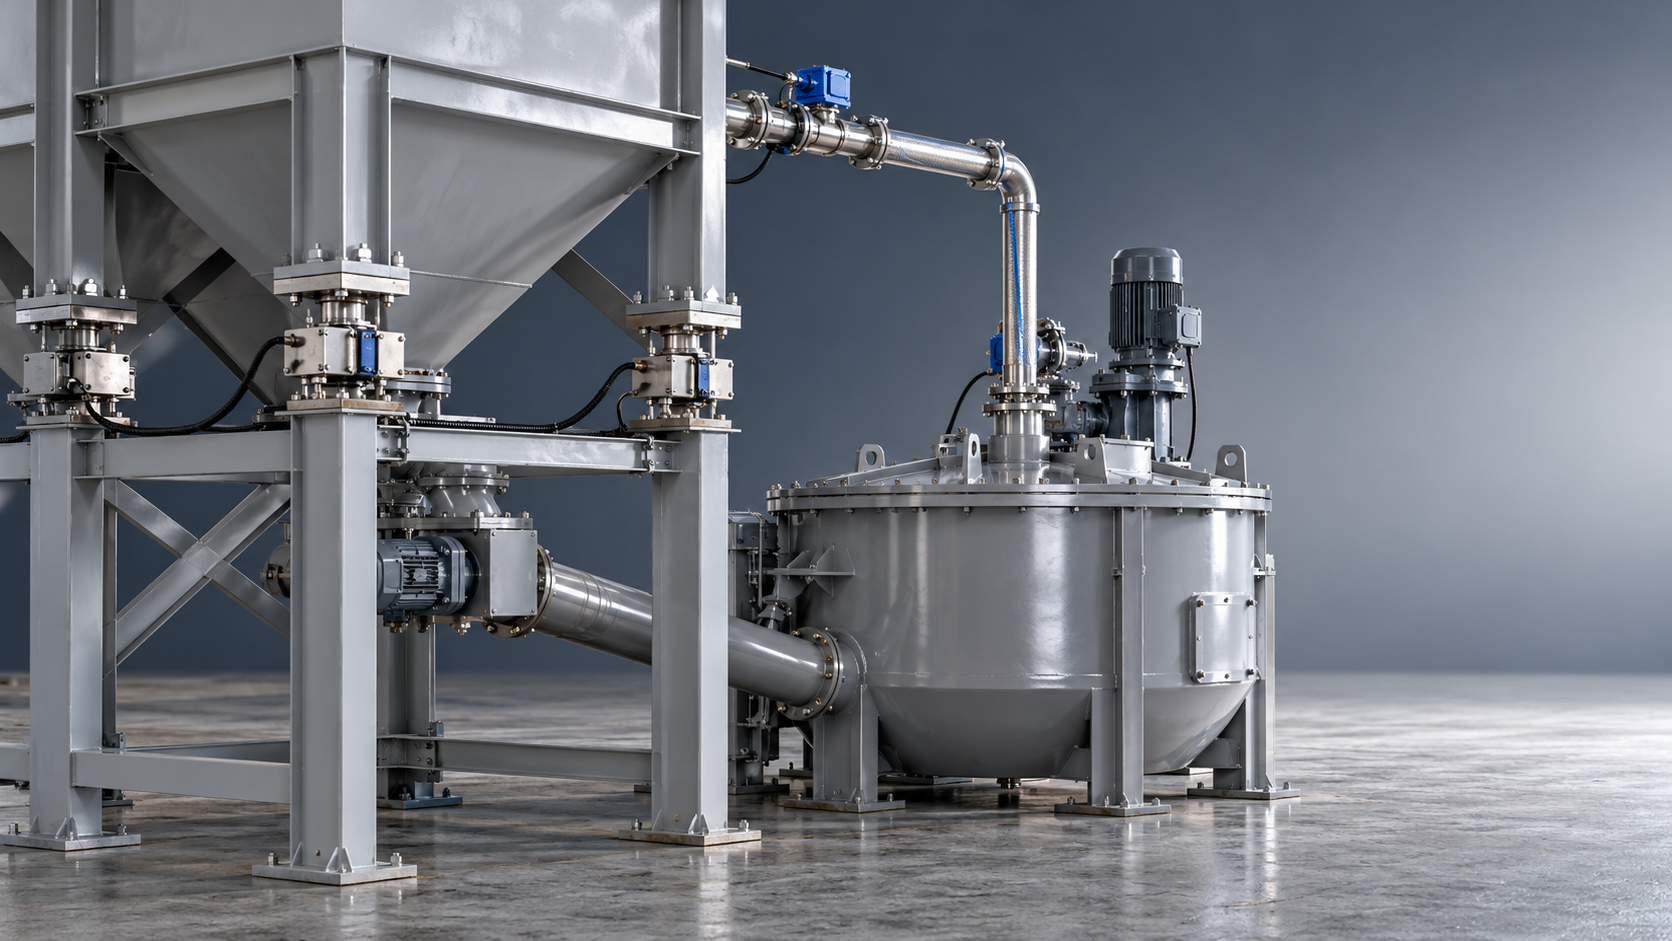
If reviewing mixing equipment, the JS500 MIXER is one product to assess against the line’s batch requirements and material characteristics. For this problem, the relevant questions concern mixing uniformity, discharge consistency, and compatibility with the production cycle. A mixer change will not correct a damaged mold or an abrupt stripping movement.
Aggregate grading deserves attention when moisture corrections produce little improvement. Excess coarse material can leave thin webs poorly packed, while a change in fines can alter water demand and mold adhesion. Restore consistency in the raw materials before using additional cement to compensate for an unstable mix.
Separate uneven filling from insufficient compaction
A hollow block mold contains narrow spaces around its cores. Material must reach these areas evenly before compaction can produce consistent walls and webs. If one section starts with less material, stronger vibration may not redistribute it adequately.
Compare the failed cavity with neighboring cavities. Look for consistently low walls, open texture, weak corners, or a recurring difference in block height. Inspect feed drawer operation, hopper discharge, and material buildup that could restrict delivery to one area.
Where block mass is used as a process check, compare blocks of the same design under similar moisture conditions. A persistent mass difference between cavities can support a filling diagnosis, although mass alone does not establish adequate compaction or strength.
Once filling is consistent, review vibration and pressing against the machine’s established settings for that mold and mix. Too little effective compaction leaves a weak structure that may separate during release. Excessive vibration can also create problems with some mixes, including segregation or increased adhesion. Longer vibration is not an automatic cure for demolding cracks.
Check the equipment that transmits the vibration. Loose fasteners, worn mounting components, buildup on contact surfaces, or uneven table support can produce uneven consolidation even when the control settings have not changed. Mechanical faults should be corrected before operators compensate with longer cycle times or higher pressure.
When the same cavity keeps cracking, inspect the tooling
A defect that repeatedly follows one cavity or one side of a core deserves a close mechanical inspection. Remove hardened concrete using methods suitable for the mold surface. Examine the affected area for roughness, burrs, damage, and buildup that could grip the fresh block during stripping.
Inspect the corresponding tamper head shoes and their clearances. Uneven wear or misalignment can make contact uneven, disturb a thin wall, or cause the block to release asymmetrically. Check alignment using the machine and mold supplier’s procedure; visual impressions alone may miss a small but consequential offset.
Wear does not always make release easier. Although general wear may increase clearance, localized damage can create a catching point. Worn tooling can also change wall geometry or compaction conditions enough to weaken the block.
Do not grind cores, enlarge clearances, or alter mold surfaces as an improvised adjustment. Such changes can affect block dimensions, wall thickness, and tooling fit. Repair decisions should address the measured defect.
Release agents also require care. Where the process permits them, use the specified material and application method. Uncontrolled application can conceal a surface problem, affect appearance, or introduce another source of inconsistency.
Review the demolding sequence and pallet support together
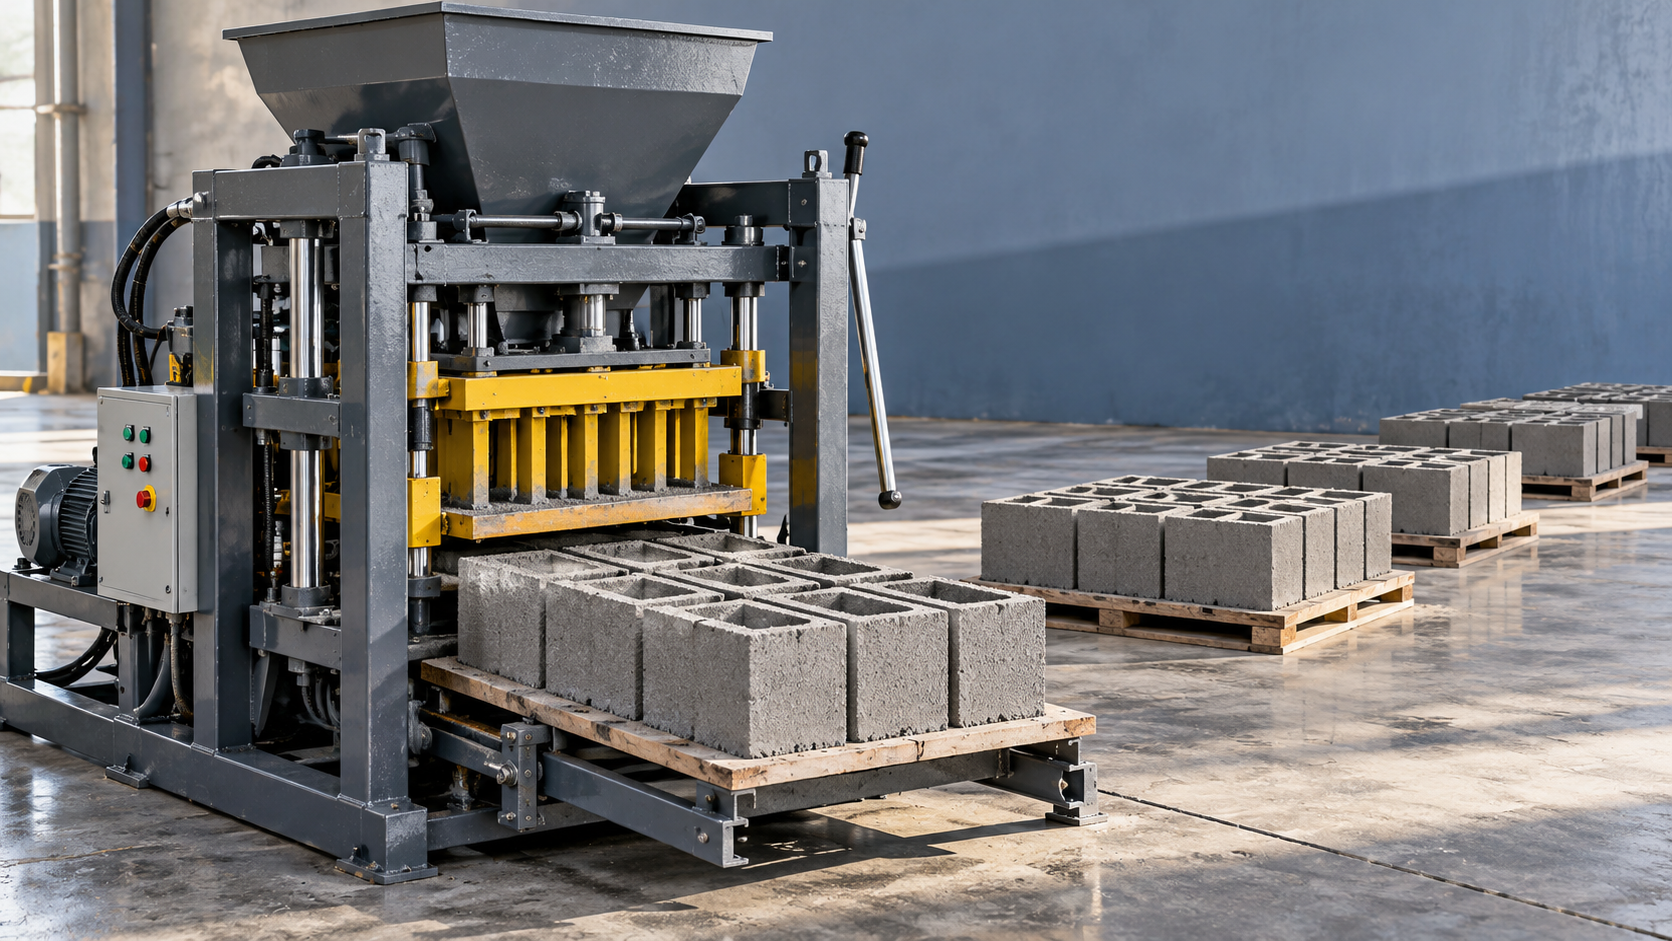
The compacted block must remain supported as the mold and pressing components separate. The exact movement sequence varies by machine design, so use the sequence specified for the equipment. Problems arise when relative movement pulls, drags, or suddenly unloads the fresh block.
Observe whether the mold rises smoothly, whether one side appears to release first, and whether the pressing head and pallet maintain their intended relationship. A jerk at the start of stripping can expose a marginal mix or a sticking surface that was previously producing acceptable blocks.
If the problem began after a control adjustment, maintenance job, sensor replacement, or mold change, compare the affected settings and component positions with the last stable configuration. Check position feedback and mechanical condition before making broad timing changes.
A slower stripping movement may help when release is abrupt, but it cannot remove a burr or restore missing compaction. Any speed adjustment must remain within the machine’s permitted operating settings and preserve the required sequence.
The pallet is part of the forming support system. A warped, damaged, contaminated, or unsuitable pallet can support the block unevenly. Watch for cracks associated with particular pallets and remove defective ones from service. Also inspect support rails and transfer transitions: an intact block may crack when its pallet bends or strikes a height mismatch.
Use a controlled trial to identify the correction
Changing water, vibration, pressure, and stripping speed together makes the outcome difficult to interpret. An improvement may disappear on the next shift because nobody knows which change mattered.
- Record the starting condition. Note the mix batch, moisture result, mold identification, affected cavities, machine settings, and the point where cracks first appear.
- Correct visible faults. Remove buildup, replace defective pallets, and repair confirmed mechanical problems before tuning around them.
- Choose one adjustment. Use the observed crack pattern to select moisture, filling, compaction, or release behavior as the next variable.
- Let the process stabilize. Allow changed material to pass through the feed system and observe repeated cycles.
- Assess the whole block. Check release, wall shape, corners, height consistency, and handling stability. Continue normal quality checks after curing.
- Record the result. Retain useful settings with their mix and mold conditions, and reverse adjustments that provide no benefit.
Immediate appearance is only part of acceptance. A block that survives demolding may still have inadequate consolidation, internal separation, or dimensional problems. Keep trial production identifiable until it has passed the plant’s normal checks.
Know when further setting changes should stop
Stop repeated trial production when cracks remain concentrated around damaged tooling, release movement becomes visibly uneven, or unusual contact and noise appear. These conditions call for maintenance inspection. Continuing to adjust the recipe can consume material while allowing equipment damage to progress.
For technical support, prepare a short cycle video recorded from a safe position, photographs of the crack and affected cavity, the current mix record, and a description of recent changes. Include whether the failure follows a cavity, a pallet, or an entire batch. That distinction gives a machinery supplier such as Hongfa a clearer starting point for diagnosis.
The next useful adjustment should follow the evidence: widespread weak blocks call for a mix and compaction check; a repeated local split calls for tooling and filling inspection; damage after release calls for a pallet and transfer check. Once production stabilizes, document the conditions that restored clean demolding so the next shift can maintain them.
Next:No more content
Recommend
 Oct 26, 2026
Hollow Block Making Machine: Fixing Cracks During Demolding
Hollow block making machine cracks during demolding? Discover how to check mix moisture, compaction, mold friction, and pallet support to reduce waste and improve block quality.
 Oct 26, 2026
How Accurate Does an AAC Batching System Need to Be?
Choosing sand or fly ash? Discover how to specify AAC batching accuracy, control slurry solids and aluminum dosing, and verify performance for consistent block quality.
- Oct 26, 2026
Which Concrete Brick Machine Is Suitable for a Small Factory?
Which concrete brick machine is suitable for a small factory? Compare semi-automatic and automatic options, costs, space, and output to find the right fit for your budget.